- Create a Customized Dog Collar: DIY Tips and Trick
Introduction
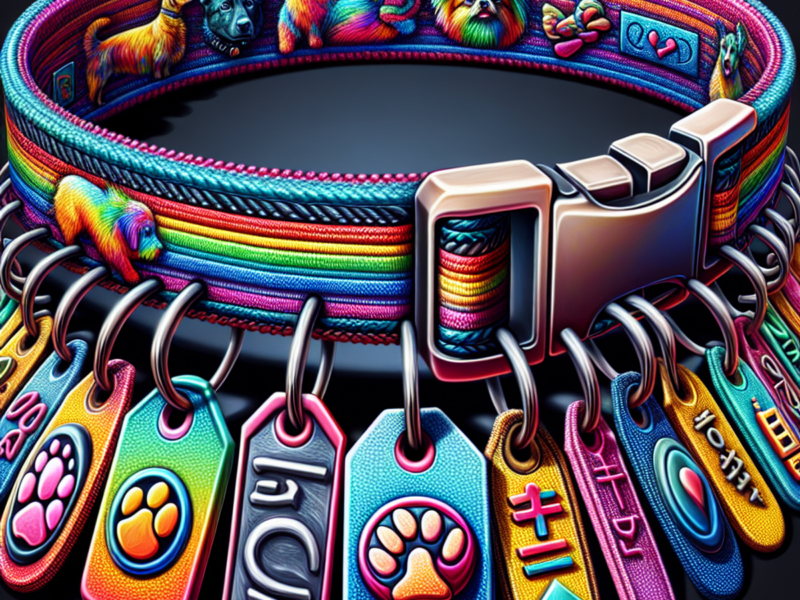
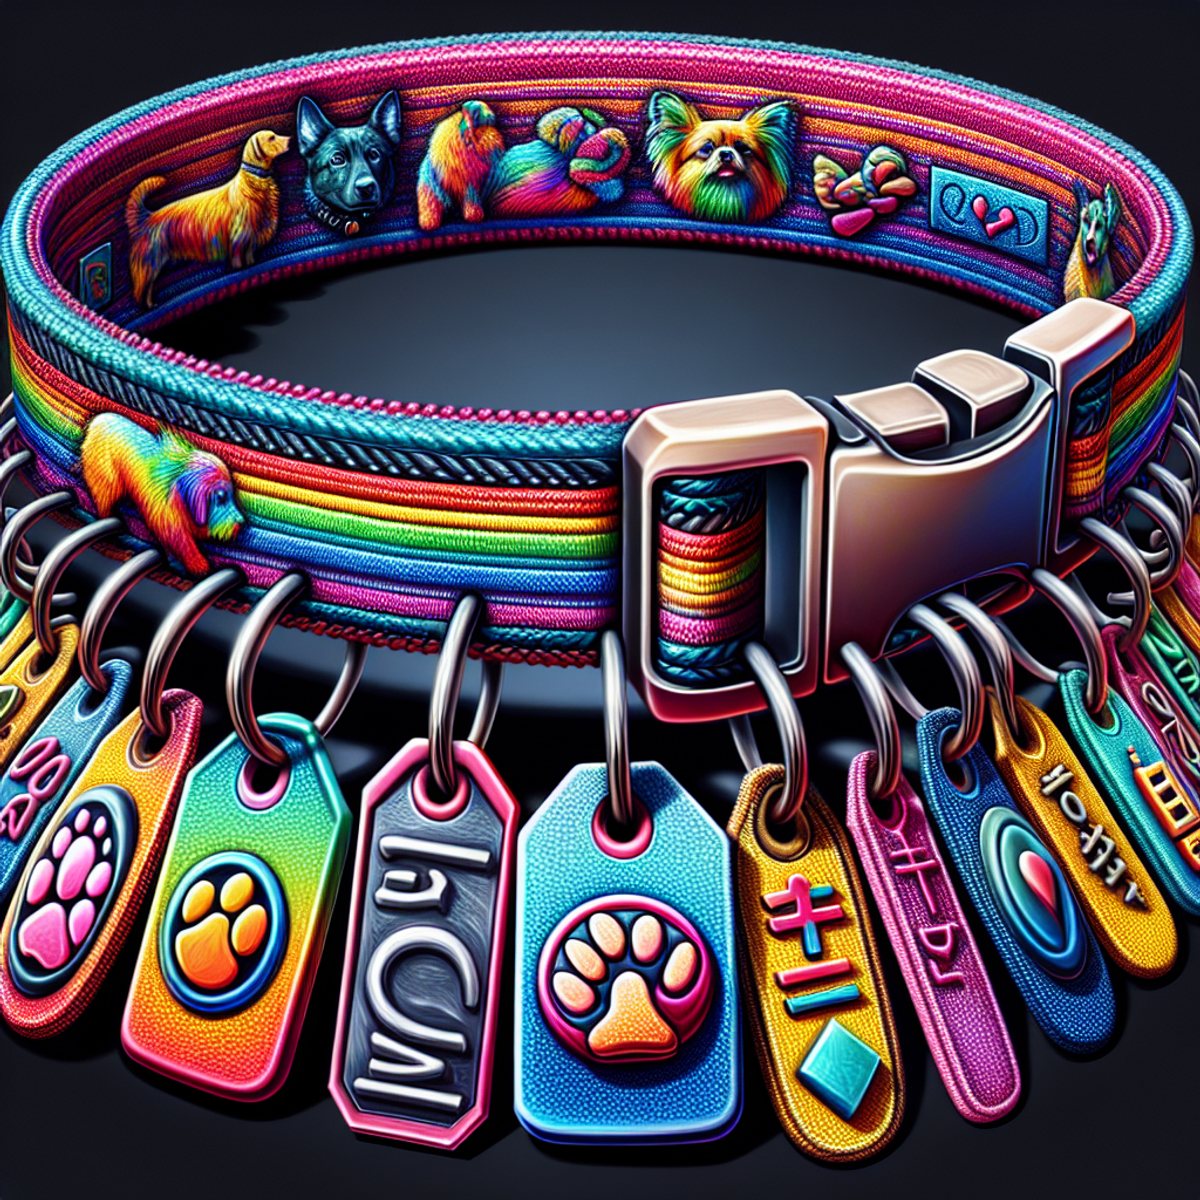
Are you looking to create a unique and stylish dog collar that also includes personalized identification tags for your furry friend? Look no further! In this article, we will guide you through the step-by-step process of making a DIY dog collar with customized tags, ensuring both style and safety for your pet.
Key Takeaway: You can create a one-of-a-kind collar that reflects your pet’s personality while also providing important identification information.
Creating your own DIY dog collar allows you to unleash your creativity and design a collar that is tailored specifically to your pet’s style. By adding personalized ID tags, you can ensure that your furry friend is easily identifiable in case they ever get lost.
In this comprehensive guide, we will cover everything from gathering the necessary materials to crafting the perfect collar and tags. Whether you’re a seasoned crafter or a beginner, our easy-to-follow instructions will walk you through each step of the process.
So why settle for generic store-bought collars when you can create something truly special for your beloved pet? Get ready to dive into the world of DIY dog collars and let your creative juices flow!
“Every dog deserves a collar as unique as they are.”
Materials Needed
Before we get started, let’s gather all the materials you’ll need to complete this project:
- Non-Stretch Fabric and Iron-on Interfacing: These materials are important for creating a durable dog collar that won’t stretch out over time. The non-stretch fabric provides stability and strength to the collar, while the iron-on interfacing reinforces it and prevents fraying edges.
- Buckles, D-rings, and Other Hardware: When choosing hardware for the collar, it’s essential to opt for sturdy options that can withstand active pets. Buckles and D-rings are commonly used for fastening the collar and attaching a leash. Additionally, other hardware components like sliders or adjusters can be used to ensure a proper fit.
- Liquid Sculpey and Dog Tag Molds: These materials are perfect for creating personalized identification tags for your dog. Liquid Sculpey allows you to mold unique shapes and colors, while the dog tag molds provide a professional-looking finish.
- Vinyl, Glitter, Dried Flowers, and Other Decorative Elements (Optional): If you want to add a touch of style to your dog’s collar, consider incorporating decorative elements like vinyl accents, glitter embellishments, or dried flower attachments. These elements can enhance the overall design and make the collar truly unique.
- Shrinky Dink Inkjet Paper and Clear Coat Spray Paint (Alternative Method): If you’re looking for an alternative method to create customized ID tags for outdoor cats, you can try using Shrinky Dink inkjet paper and clear coat spray paint. This method allows you to print designs onto the inkjet paper, cut them out, bake them in the oven, and seal them with clear coat spray paint for durability.
- Other Tools and Supplies: In addition to the main materials mentioned above, there are a few other tools and supplies that will come in handy during the collar-making process. Some of these include jump rings for attaching the tags, pliers for securing hardware, scissors for cutting fabric and paper, a hole puncher for creating holes in the tags, and a template design program if you’re using Shrinky Dink inkjet paper.
Now that you have all the necessary materials, let’s move on to the next step: measuring and cutting the fabric for your DIY dog collar.
Step 1: Measuring and Cutting the Fabric
To ensure a comfortable fit for your dog’s collar, it’s important to measure their neck size accurately and cut the fabric accordingly. Here are the detailed instructions for this step:
- Use a soft measuring tape or a piece of string to measure your dog’s neck circumference. Make sure the tape or string is snug but not too tight. Note down the measurement in inches or centimeters.
- Add an extra inch or two to the measured length to account for overlap and adjustability. This will ensure that the collar is not too tight and allows room for growth or fluctuations in your dog’s weight.
- Lay out your non-stretch fabric on a flat surface and mark the measured length using a fabric marker or chalk. Keep in mind that the width of the fabric strip should be about twice the desired width of the finished collar.
- Use fabric scissors to carefully cut along the marked line, creating a straight strip of fabric.
- Double-check the length of the fabric strip against your dog’s neck measurement to ensure accuracy before moving on to the next step.
Remember, it’s always better to start with a longer strip of fabric as you can easily trim it down if needed during later steps. Taking precise measurements and cutting the fabric accordingly will result in a comfortable and well-fitting collar for your furry friend.
For those looking for more sewing projects, you can also explore resources like these:
- How to make a dog shirt
- How to grade a pattern up (useful when customizing sizes for various sewing patterns)
- DIY knife pleated skirt (a guide on creating beautiful pleats)
- How to make a hooded cape for Halloween (if you want to try your hand at more advanced sewing projects)
Step 2: Reinforcing With Iron-on Interfacing
Iron-on interfacing is an essential step in creating a durable and long-lasting DIY dog collar. By applying interfacing to one side of the fabric strip, you provide extra stability and prevent fraying edges. Here’s how to reinforce your collar with iron-on interfacing:
- Start by selecting a suitable iron-on interfacing that matches the weight and thickness of your chosen fabric. You can find interfacing at fabric stores or online.
- Lay your fabric strip on a flat surface with the wrong side facing up. Place the iron-on interfacing on top, adhesive side down, aligning it with one edge of the fabric.
- Use an iron set to the appropriate temperature for your fabric (refer to the instructions on the interfacing packaging) and press down firmly on the interfacing for several seconds. Move the iron in a slow, steady motion, ensuring even heat distribution.
- Repeat this process for the entire length of the fabric strip, overlapping each section slightly to ensure complete coverage.
- Allow the interfacing to cool before handling or sewing.
By reinforcing your collar with iron-on interfacing, you create a sturdy base that will withstand everyday wear and tear. This step is especially crucial if you’re using lightweight or delicate fabrics for your dog collar.
Remember to always follow the manufacturer’s instructions when working with iron-on interfacing to achieve the best results.
Step 3: Sewing the Collar
To create the collar shape, you will need to sew the folded edges of the fabric strip together securely. Follow these step-by-step instructions to achieve a professional finish:
- Fold the raw edges: Take one end of the fabric strip and fold it inward, about 1/4 inch. Repeat this on the other end as well.
- Secure with pins: Use sewing pins to hold the folded edges in place. This will ensure that they don’t shift while you’re sewing.
- Stitch along the edges: Start sewing from one end of the folded fabric strip, using a straight stitch or a zigzag stitch for added durability. Sew along the edge, removing the pins as you go.
- Backstitch at the beginning and end: To reinforce the stitching, backstitch a few stitches at both ends of the collar. This prevents unraveling over time.
- Trim any excess thread: Once you’ve finished sewing, trim any excess thread for a neat appearance.
By following these steps, you will have successfully sewn your customized dog collar. The folded edges provide a clean look and prevent fraying, ensuring that your collar remains durable and long-lasting.
Remember to adjust the stitch length and tension on your sewing machine according to your fabric’s thickness. Experiment with different stitch styles to add decorative touches or reinforce specific areas of the collar.
Step 4: Adding the Hardware
Instructions for Attaching Hardware:
When adding hardware to your DIY dog collar, it’s essential to ensure the components are securely attached to guarantee the collar’s functionality and durability. Here’s a step-by-step guide for attaching buckles, D-rings, and other hardware components:
1. Attach Buckles:
- Position the buckle on one end of the collar fabric, ensuring it’s centered.
- Fold the end of the fabric over the bar of the buckle and sew it securely in place.
- Reinforce the stitching to withstand pulling and tugging.
2. Add D-Rings:
- Place the D-ring onto the collar at the opposite end from the buckle.
- Fold the end of the fabric over the D-ring and stitch it firmly to create a strong attachment point.
3. Securing Other Hardware Components:
- If you are adding any additional hardware such as charms or decorative elements, ensure they are firmly attached using appropriate techniques such as sewing or riveting.
By following these steps, you’ll complete the functional aspect of your DIY dog collar with a secure and reliable hardware attachment.
Step 5: Crafting Personalized ID Tags
Crafting personalized ID tags for your dog’s collar is a fun and creative way to add a unique touch to their accessory while ensuring their safety. Here is a step-by-step guide to help you create customized identification tags that reflect your dog’s personality:
1. Gather Your Supplies
Before you begin, gather the following materials:
- Liquid Sculpey in various colors (such as white, clear, or gold pearl)
- Dog tag molds in different shapes (bone shape and circular are popular options)
- Jump rings and keychain rings
- Pliers for opening and closing the jump rings
- ‘Toppings’ like glitter, dried flowers, or even black pepper for texture
- Vinyl for adding your dog’s name and phone number
2. Prepare the Liquid Sculpey
Squeeze the desired color of Liquid Sculpey into the dog tag mold. You can also combine different colors for a marbling effect if you prefer.
3. Add Decorative Elements
This is where you can get creative! Add toppings like glitter, dried flowers, or even a sprinkle of black pepper for an interesting texture. Press them gently into the Liquid Sculpey.
4. Bake According to Package Directions
Follow the instructions on the Liquid Sculpey packaging for baking. Once baked, remove the tags from the mold and let them cool completely.
5. Personalize with Vinyl
Cut out vinyl letters with your dog’s name and contact information using a template or freehand. Apply them to the cooled tags, making sure they adhere properly.
6. Seal with Clear Layer
To protect the vinyl and give your tags a glossy finish, apply a clear layer of Liquid Sculpey over the entire surface of each tag. Bake again according to package directions.
7. Attach the Tags
Once the tags are completely cooled and sealed, attach them to the collar using jump rings and keychain rings. Use pliers to open and close the jump rings securely.
By following these steps, you can create personalized ID tags that not only provide important information but also showcase your dog’s unique style. Feel free to experiment with different colors, shapes, and decorative elements to make the tags truly one-of-a-kind.
Conclusion
Unleash your creativity and make a one-of-a-kind collar for your beloved pet, while also ensuring safety with personalized ID tags.
For inspiration on how to craft an effective Call-to-Action (CTA), you can explore these 40 call-to-action examples that drive engagement.
Don’t forget to include a CTA in your DIY dog collar creations, encouraging others to share their projects with us on social media or in the comments section.
Frequently Asked Questions
DIY Dog Collar FAQ
Is it necessary to use non-stretch fabric for the collar?
Yes, it is recommended to use non-stretch fabric for the collar. Non-stretch fabric provides better control over the fit of the collar, ensuring that it maintains its shape and size over time. This is important for the comfort and safety of your pet.
Can I use a different material instead of Liquid Sculpey for the tags?
Absolutely! There are alternative materials that can be used to create customized tags for your DIY dog collar. Polymer clay or metal stamping blanks are great options that allow you to personalize your pet’s ID tags according to your preferences. These materials offer flexibility and durability, making them suitable for crafting unique and stylish identification tags.
By using non-stretch fabric and considering alternative materials for the tags, you can ensure a comfortable and secure fit for your pet while expressing their individuality through personalized accessories.
