Transform Your Space with a Homemade Cat Tree
Introduction
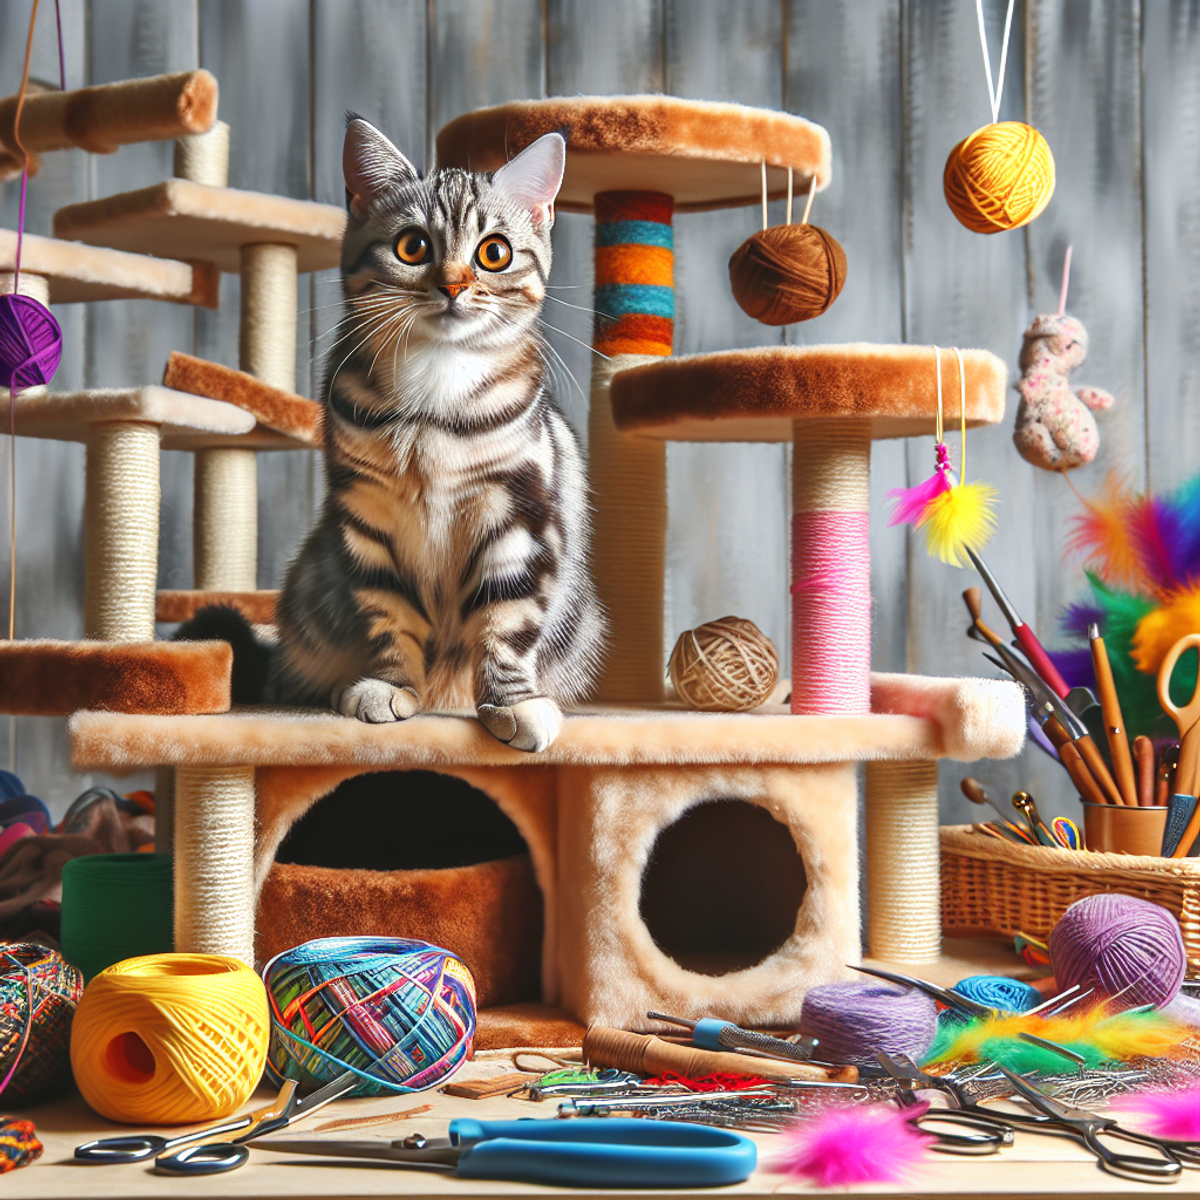
Creating a DIY cat tree is not only a fun and rewarding project but also a great way to transform your space into a feline paradise. These homemade cat trees have become increasingly popular among cat owners for several reasons. In this guide, we will explore the world of DIY cat trees and show you how to build your own unique piece of cat furniture.
One of the main advantages of making your own cat tree is that it saves money. Buying a pre-made cat tree from the store can be expensive, but by using simple materials and tapping into your creativity, you can construct a personalized cat tree at a much lower cost. Additionally, building it yourself allows you to ensure that the materials used are of good quality, resulting in a sturdy and safe structure for your beloved pet.
Not only are DIY cat trees budget-friendly, but they also offer endless possibilities for customization. You have the freedom to design the tree according to your space requirements and personal style preferences. Whether you want it to blend seamlessly with your modern decor or add a touch of rustic charm to your home, the choice is yours. Creating a homemade cat tree gives you the opportunity to showcase your artistic side and craft something truly one-of-a-kind.
So, get ready to start building your own DIY cat tree. By the end of this guide, you’ll have all the knowledge and inspiration you need to create a space that both you and your feline companion will love. Let’s get started!
1. Materials and Tools for Your DIY Cat Tree
When you decide to build your own cat tree, it’s important to focus on safety and durability. This means choosing the right materials and tools. Here’s what you’ll need:
DIY Cat Tree Materials
- Wood: Go for strong and thick plywood or particle board. This will make sure the cat tree is stable.
- Sisal Rope: Use natural, high-quality sisal rope to wrap around the posts. It will give your cat a durable and enjoyable scratching surface.
- Carpet: Pick a natural, non-toxic carpet to cover the platforms and perches. This will provide comfort and traction for your cat.
- Screws: Opt for heavy-duty screws that can hold everything together securely over time.
DIY Cat Tree Tools
- Circular Saw or Jigsaw: You’ll need one of these tools to cut the wood into the right sizes.
- Drill with Screwdriver Bits: This is necessary for putting all the pieces together using screws.
- Staple Gun: It’ll come in handy when attaching the carpet firmly to the surfaces.
- Stud Finder: Use this tool to find the studs in your wall. It’ll help you safely anchor the cat tree for extra stability.
With these strong materials and essential tools, you’ll have everything you need to make a safe and durable homemade cat tree for your furry friend. If you’re looking for some inspiration or guidance, check out this guide on building a DIY cat tree.
2. Planning and Designing Your Cat Tree
When you’re planning and designing your DIY cat tree, there are a few important things to keep in mind:
Assessing Space
Start by looking at the space in your home where you want to put the cat tree. Make sure it’s an area where your cat likes to hang out and has enough room for the tree without getting in the way.
Determining Height and Size
Think about how tall and big you want the cat tree to be. Cats love being up high, so having different levels or platforms at various heights is a good idea.
Design Tips:
Here are some tips to help you with the design process:
- Make sure the cat tree is stable and secure by putting it against a wall or in a corner.
- Include different features like scratching posts, hiding spots, and perches to make it fun for your cat.
- Choose materials and colors that go well with your home decor while still being appealing to your cat.
By carefully planning and designing your DIY cat tree, you can create a space that not only meets your cat’s needs but also enhances the overall aesthetics of your living environment.
3. Step-by-Step Guide: Building Your Own Cat Tree
3.1. Gathering the Required Materials
When you decide to build a cat tree yourself, it’s important to have all the necessary materials before you start. This will make the construction process much easier. Here are some things you should keep in mind:
Where to Find Affordable Materials for Your Project
- Local Hardware Stores: Visit your nearest hardware or home improvement store to explore a wide range of materials such as plywood, sisal rope, and screws. These stores often offer affordable options and may have discounts on bulk purchases.
- Online Marketplaces: Websites like Craigslist, Facebook Marketplace, or eBay can be treasure troves for finding discounted or second-hand materials. You might stumble upon leftover carpet remnants or unused lumber at budget-friendly prices.
- Recycling Centers: Check out local recycling centers or architectural salvage yards for reclaimed wood and other eco-friendly materials that can add character to your cat tree while being cost-effective.
Tips for Selecting the Right Quality Items
- Wood: Opt for sturdy and durable wood such as plywood or particle board for the structural components of your cat tree. Ensure that the wood is free from any signs of damage or warping.
- Sisal Rope and Carpet: When selecting sisal rope for scratching posts and carpet for upholstering platforms, prioritize quality and durability. Look for tightly woven sisal rope that can withstand enthusiastic scratching sessions, and choose carpet with a tight weave to endure feline activities.
By carefully sourcing affordable yet high-quality materials, you can create a robust and visually appealing DIY cat tree that will delight your feline companion without breaking the bank.
3.2. Preparing the Wood Components
To create a sturdy and durable homemade cat tree, it’s essential to properly prepare the wood components. This involves measuring and cutting the plywood or particle board to the desired sizes for the platforms, base, and vertical elements. Here are the key steps to follow:
- Measuring and Cutting: Begin by measuring the dimensions for each component of your cat tree. Use a tape measure to ensure precise measurements. Then, using a circular saw or a jigsaw, carefully cut the plywood or particle board according to your measurements. Remember to wear safety goggles and gloves during this process.
- Sanding the Edges and Surfaces: After cutting the wood, it’s important to sand down any rough edges or surfaces. This will help prevent splinters and create a smooth finish. Use sandpaper with a medium grit (around 120) to sand both sides of the wood components.
- Wrapping Uprights with Carpet and Sisal Rope: To provide scratching surfaces for your feline friend, consider wrapping some of the vertical elements with carpet or sisal rope. This will encourage your cat to use the cat tree for their scratching needs instead of your furniture. Securely attach the carpet or sisal rope using a staple gun or strong adhesive.
- Upholstering Platforms: For added comfort, consider upholstering the platforms with natural carpet or fabric. Measure and cut the carpet or fabric slightly larger than each platform’s surface area. Attach it securely using a staple gun or adhesive, ensuring there are no loose edges that could potentially harm your cat.
By taking these steps to prepare your wood components, you’ll be well on your way to building a sturdy and safe homemade cat tree that your feline friend will love.
3.3. Assembling the Cat Tree Structure
Once you have prepared the wood components for your DIY cat tree, it’s time to start assembling the structure. This section will guide you through the process of building upwards and constructing the vertical elements of your cat tree.
Breaking Down the Process into Manageable Steps
Before you begin, make sure you have all the necessary materials and tools ready. Create a clear workspace where you can easily access and assemble the components. Break down the assembly process into steps to ensure a smooth and organized construction.
Step-by-step instructions for assembling the base and uprights
- Start by attaching the base to the bottom of your cat tree. Use screws to secure it firmly in place. You can refer to this article on properly using wood screws for guidance.
- Next, attach the uprights to the base. Place them evenly around the perimeter and use screws to fasten them securely.
- Make sure to align each upright vertically and double-check their stability before moving on.
Using screws to secure the components together
Once the base and uprights are securely attached, move on to connecting them with additional support pieces. Use screws to fasten these support pieces between the uprights, creating a sturdy framework for your cat tree. Check for any wobbling or instability as you go along, tightening screws if necessary.
Wrapping uprights with carpet and sisal rope
To provide scratching surfaces for your feline friend, wrap some of the uprights with sisal rope or carpet. Start at the bottom of each upright and tightly wind the rope or carpet around it, securing with staples or nails as needed. This will give your cat a designated area to satisfy their natural scratching instincts.
Upholstering platforms on DIY cat tree
Once you have assembled the main structure, it’s time to add platforms for your cat to climb and rest on. Cut pieces of plywood or particle board to size for the platforms, ensuring they fit securely between the uprights. Upholster the platforms with carpet or fabric, attaching it firmly using a staple gun or adhesive.
By following these step-by-step instructions and taking care in securing each component, you’ll be able to assemble a sturdy and functional cat tree for your furry friend.
3.4. Adding Platforms and Levels
After putting together the vertical parts of your homemade cat tree, it’s time to make it more exciting by adding platforms and levels. This is important because it gives your cat different spaces to play and relax, while also tapping into their natural instincts to climb, jump, and explore.
Here’s how you can do it:
- Prepare the platforms: Get the wooden pieces ready for use as platforms. Cut them to the size you want using a saw or circular saw, making sure they’re strong enough to hold your cat’s weight. Smooth out any rough edges or splinters with sandpaper to prevent any accidents.
- Wrap the uprights: Cover the upright parts of your cat tree with carpet or sisal rope. This serves two purposes – it gives your cat a cozy surface to scratch on and it provides grip for them to climb easily. Use a staple gun or adhesive to firmly secure the carpet or rope in place.
- Upholster the platforms: Now it’s time to make the platforms comfortable for your cat. Place a piece of carpet or fabric on top of each platform and trace its shape, leaving a few inches of extra material around the edges. Cut along the traced lines and use a staple gun or adhesive to tightly attach the fabric to the platform, making sure there are no loose parts.
- Add more levels: If you want to make your cat tree even more interesting, consider adding extra platforms at different heights. This allows your cat to climb higher and gives them more choices for lounging around or keeping an eye on things.
- Include special features: To make the cat tree even more enjoyable, you can incorporate hammocks or attach toys like feathers or balls to some of the platforms. These additions provide additional entertainment and mental stimulation for your furry friend.
By following these steps and incorporating platforms and levels into your DIY cat tree design, you’ll create a multi-level paradise that will keep your cat active and entertained for hours on end.
3.5. Final Touches: Stabilizing and Enhancing Durability
Importance of Reinforcing Joints and Connections
To ensure that your cat tree is sturdy and doesn’t wobble, it’s crucial to reinforce all the joints and connections. This step is essential in creating a safe and stable structure for your furry friend. Here’s how you can achieve it:
- Make sure all joints are securely fastened to prevent any wobbling or instability.
- Utilize sturdy screws and appropriate hardware for connecting components.
- Consider adding glue to reinforce connections for extra stability.
Securing the Cat Tree Safely in Your Home Environment
Apart from reinforcing the structure itself, you should also take steps to safely secure the cat tree in your home environment. This will help prevent any accidents or mishaps. Here are some tips to accomplish this:
- Place the cat tree near a wall for additional support.
- Use L-brackets to secure the top of the cat tree to the ceiling or wall.
- Consider anchoring the base of the cat tree to the floor for added safety.
By following these guidelines, you can ensure that your DIY cat tree is stable and safe for your feline friend.
“By reinforcing joints and connections, you ensure that the cat tree is stable and safe for your feline friend.”
“Additionally, securing the cat tree in your home environment prevents tipping or toppling, providing peace of mind for both you and your pet.”
To accomplish this, you’ll need a few materials such as sturdy screws, L-brackets, anchors, and appropriate hardware for securing the cat tree. It may seem like a lot of work, but by breaking down this process into manageable steps, you can enhance the durability of your DIY cat tree structure while creating a safe and enjoyable space for your cat. Additionally, it’s worth familiarizing yourself with OSHA guidelines to ensure safety during the construction process.
4. Personalizing Your Homemade Cat Tree
When it comes to personalizing a homemade cat tree, the possibilities are endless. This is your chance to add your unique style and cater to your feline friend’s specific preferences. Here are some key points to consider:
- Custom Finishes: Whether it’s painting, staining, or adding decorative elements, custom finishes can give your cat tree a personalized touch that complements your home decor.
- Accessories: Consider adding accessories such as hanging toys, cozy cushions, or even a mini hammock to make the cat tree more engaging and comfortable for your pet.
- Incorporating Themes: If you have a theme in mind for your living space, you can align the design of the cat tree with that theme to create a cohesive look.
By personalizing and customizing your homemade cat tree, you can ensure that it not only serves its functional purpose but also becomes an attractive addition to your home.
Conclusion
Building a cat tree can be a fun and rewarding DIY project for both you and your cat. By creating a custom-made space for your furry friend, you’ll not only save money but also strengthen your bond with them. So why wait? Start your DIY journey today and enjoy the process of crafting something special for your beloved pet!
